
Plan your migration to Gratona
Updated 4 days ago
Bring your donor records, programs, giving history and recurring gifts into Gratona. Use this guide to plan the move, follow the work in order and know when your team is ready to launch.
Your migration at a glance
Records and payment preparation can run alongside each other. You do not need to wait for a payment transfer to prepare programs or import your data.
If recurring collections are outside your migration scope, skip the payment-transfer steps: follow Prepare your workspace for a migration, Bring in your records, Review the donor experience before launch, the receipt and donor email checklist and the applicable launch steps in Launch and hand over your migration.
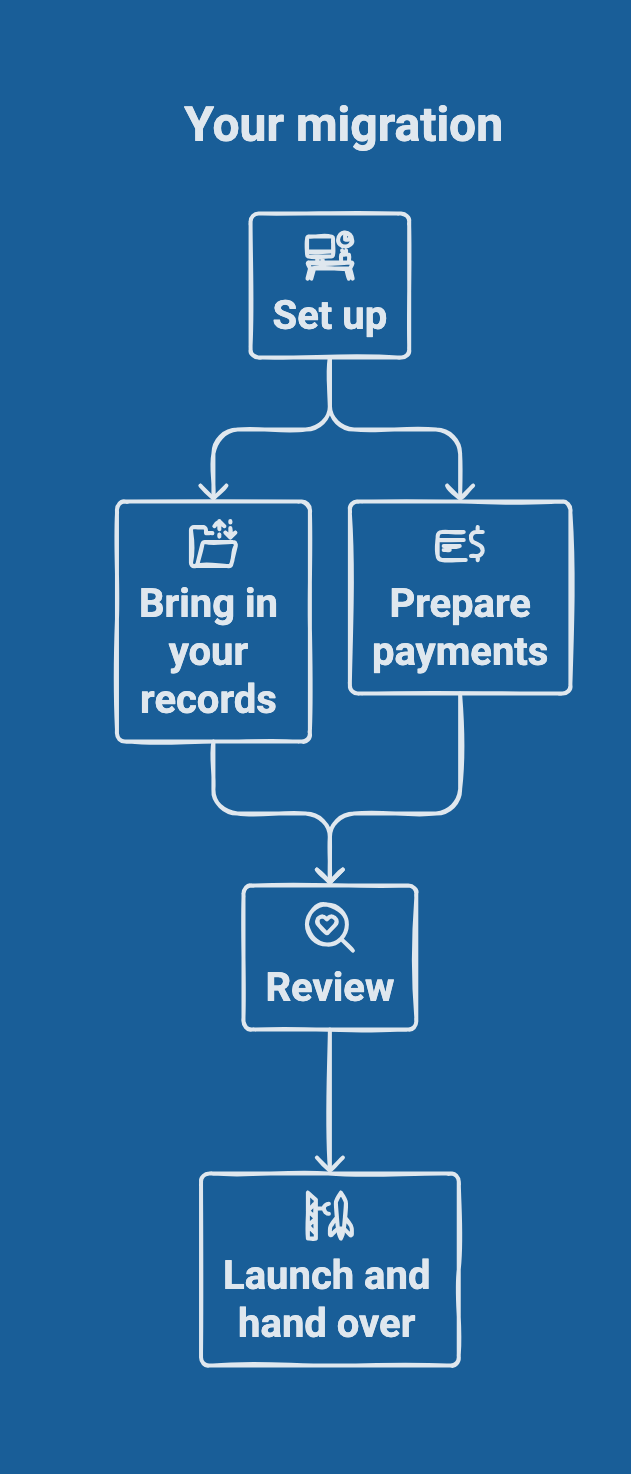

1. Prepare your workspace for a migration. Set up programs, forms and fields, review profile visibility before sharing and pause donor emails before importing. Start here.
2. Bring in your records. Import donors and recipients before the sponsorships and giving history that refer to them, then reconcile the results. Follow the import guide.
3. Prepare payments for your migration. Connect your payment account, move saved payment methods and match them to donors. Follow the payments guide.
4. Review the donor experience before launch. Check public profiles, photos, visibility, forms, donor access and messages. Follow the donor experience review.
5. Launch and hand over your migration. Switch recurring collections in approved groups, check the first results and complete the handover. Follow the launch guide.
For recurring gifts, keep your donors' usual amounts and schedule. Supported saved cards and bank payment methods can transfer with no action from your donors. Your current provider keeps collecting until you approve the switch.
Choose your onboarding path
Growth plans and above require guided or white-glove onboarding. The migration steps are the same on every path. What changes is who prepares and checks the work.
Self-onboarding
Your team: Set up programs and messages, prepare and import records, coordinate provider requests, and switch collections.
Gratona: Help with payment mapping, historical-import activation or an unavailable email-set attachment control when needed.
Guided onboarding
Your team: Complete the setup and imports assigned in your onboarding plan. Review the results and approve launch.
Gratona: Prepare and coordinate provider requests, review mappings and results, and handle agreed technical steps. Your onboarding plan names an owner for each handoff and the collection switch.
White-glove onboarding
Your team: Provide exports and agreed access, answer identity or allocation questions, and review and approve the prepared setup.
Gratona: Prepare programs, forms and messages; run and reconcile agreed imports; coordinate the transfer; and switch collections after your approval, within your onboarding agreement.
On every path, your authorized representative completes identity checks, authorizes the export and any fee, and approves both the start of collections and the start of donor emails. Card and bank details pass directly from your provider to Stripe, so your team does not handle them.
Keep one private migration record with your case numbers, owners, dates, decisions and approvals. Each guide refers to it.
When the migration is complete
Every import is finalized and reconciled to the source, transferred methods are matched and switched in approved groups, only approved messages are active, and your team owns the daily routines. Launch and hand over your migration has the full checklist.