
Stripe Setup
Updated last week
.
Stripe Setup
Use Stripe Setup when your organization is ready to accept credit card donations and sponsorship payments. To connect Stripe, open Organization settings > Payment gateways > Payouts.
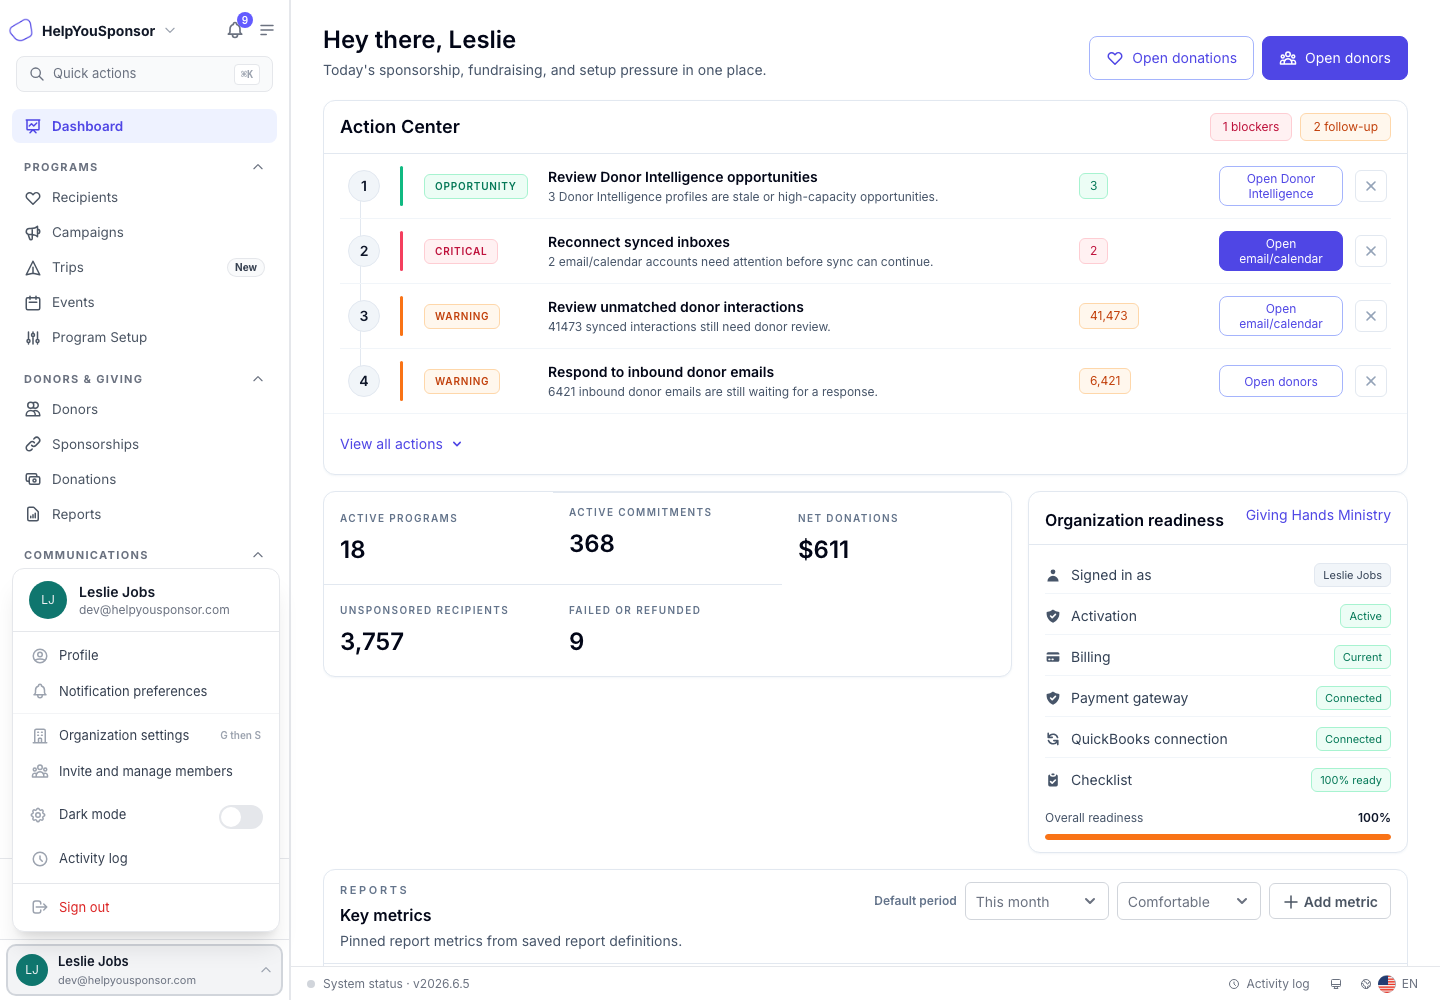
Open Organization settings from the account menu when you need to manage account-wide payment setup.
Create or Prepare Your Stripe Account
Use Stripe when your organization wants card payments to move through a Stripe account your team owns.
Go to stripe.com and create a Stripe account, or sign in to the Stripe account your organization already uses.
Complete the business, identity, and payout verification steps Stripe asks for.
Add the bank account or payout details Stripe requires before live payments can be processed.
Return to Gratona to connect Stripe from Organization settings > Payment gateways.
You do not need to copy API keys for the recommended Stripe flow. Stripe handles the connection in a secure Stripe-hosted setup window.
Open Payment Gateways
Use Payment gateways when you need to connect or review the payment providers available to your account.
Open the account menu at the bottom of the sidebar.
Select Organization settings.
Select Payment gateways, then open the Payouts tab for Stripe.
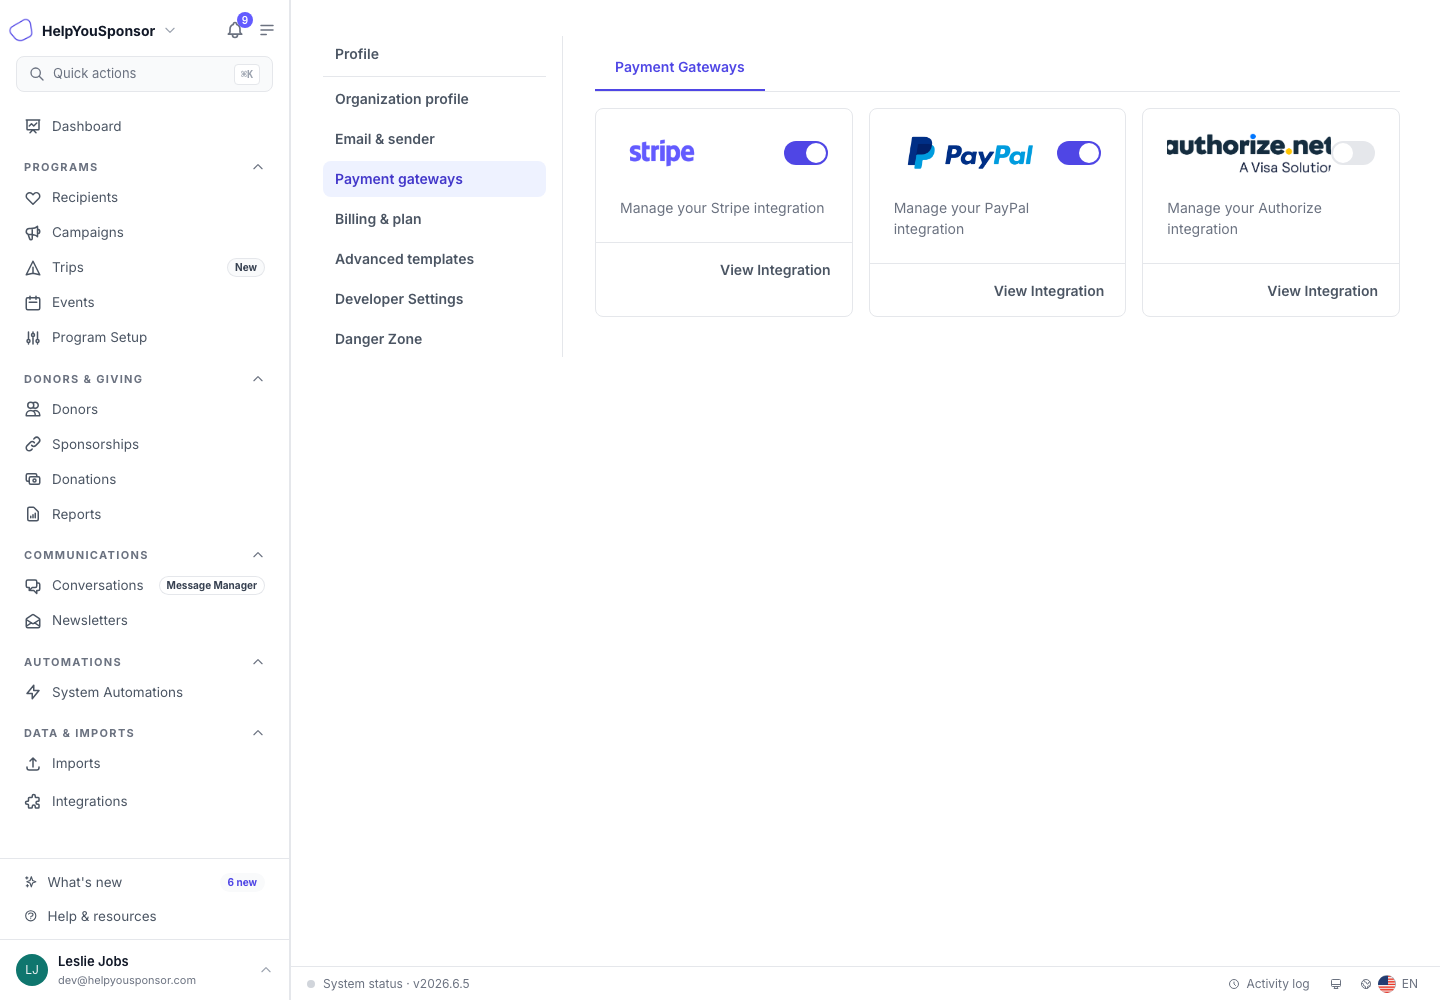
Payment gateways is the Organization settings area for Stripe and other payment providers.
Connect Stripe
Open Organization settings > Payment gateways from the account menu at the bottom of the sidebar. Open the Payouts tab. On the Stripe card, select Set up Stripe.
Connect an existing Stripe account
Choose Sign in to existing account in the setup drawer.
Sign in on Stripe, choose the account your organization wants to connect, and follow Stripe’s authorization steps.
Return to Gratona and review the connection status.
Use this option when your organization already has a Stripe account. Connecting an account does not automatically import its existing donors, saved payment methods, or subscriptions into Gratona.
Create a new Stripe account
Select the country where your organization is registered. Check it carefully before continuing.
Select Create a new account.
Complete Stripe’s hosted setup, including the business, identity, and bank details Stripe requires.
Return to Gratona and review the setup status. Complete any remaining requirements in Stripe before accepting live payments.
If existing-account sign-in is disabled
If Sign in to existing account is greyed out or you see “Existing account sign-in is temporarily unavailable. Contact Gratona support,” contact Gratona support with your organization name and the message shown. Availability depends on the platform configuration and your organization’s current connection state; you cannot enable this option in your own Stripe dashboard.
If you need to connect an existing account, ask support for help before creating a replacement account or disconnecting a current connection.
If setup is unfinished
Return to Organization settings > Payment gateways, open Payouts, and review the Stripe status. Resume setup using the available onboarding action and complete Stripe’s outstanding requirements. If you cannot resume or the account shown is unexpected, contact Gratona support.
Stripe opens in a new tab or window. After Stripe sends you back to Gratona, review the result shown in the app. If Stripe is already configured, use the available Stripe dashboard or payment links to review the connected account.
Disconnecting Stripe removes payment processing until the account is connected again. Only disconnect when your organization is ready to stop processing payments through that account.
Enable Credit Cards for a Program
After Stripe is connected for the account, turn on credit card processing for each program setting that should accept card payments.
Open Program Setup.
Open the program setting you want to update.
In Order Page Options, enable Use Credit Card processing (Stripe setup in the Account).
Save the program setting when you are ready for the change to go live.
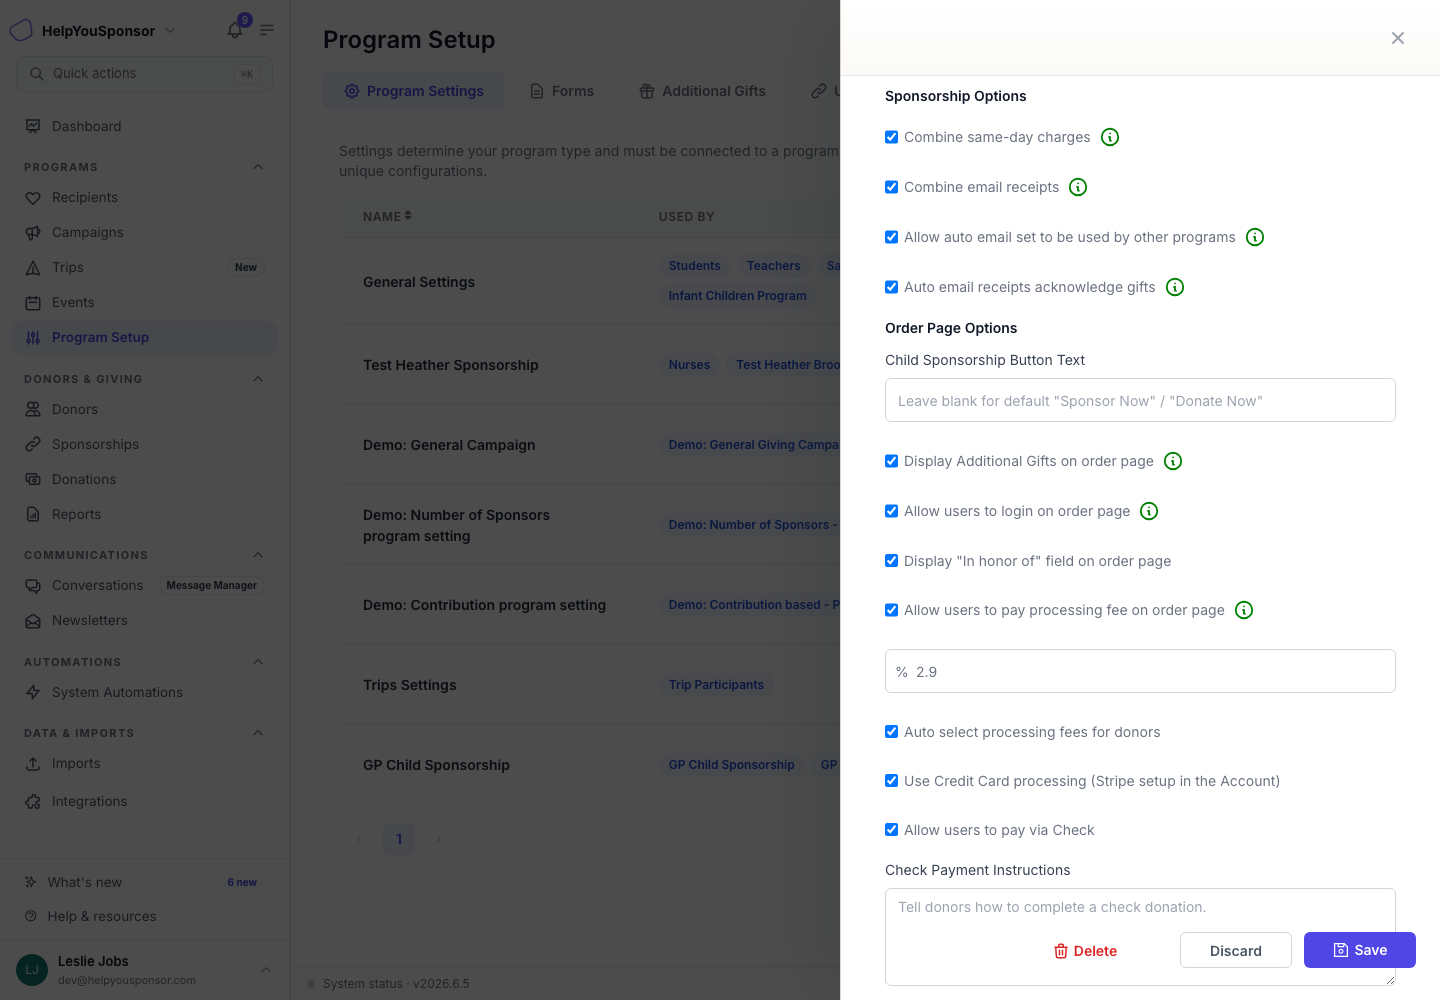
Program settings control whether a specific program can use credit card processing after Stripe is connected.
Legacy Stripe API Keys
Some older accounts may still use legacy Stripe API keys instead of the hosted connection flow. In that flow, Stripe appears under the Payment Gateways tab with a drawer for the private key, public key, and webhook signing secret.
If Gratona support directs you to use the legacy flow, sign in to Stripe and open Developers > API keys. Use live keys when you are ready to accept real payments. Test keys should only be used for testing.
Use the legacy flow only when your account is already configured that way or Gratona support directs you to use it. For webhook details, see Stripe Webhook.